
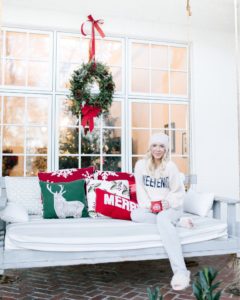
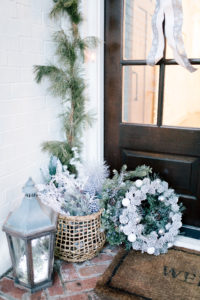
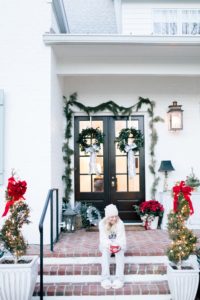
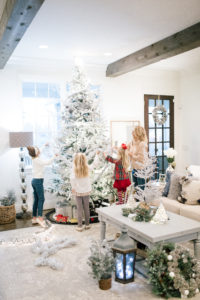
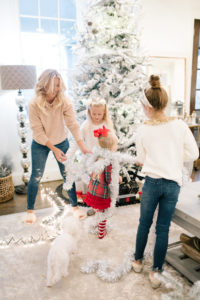
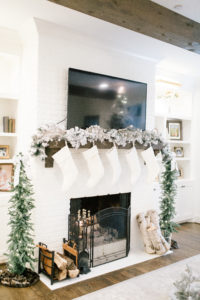
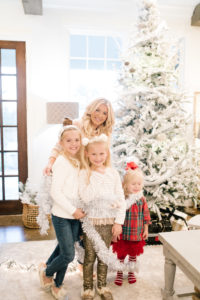
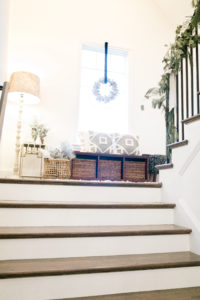
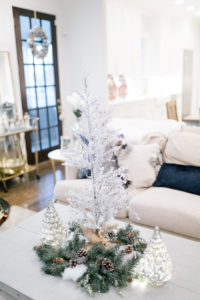
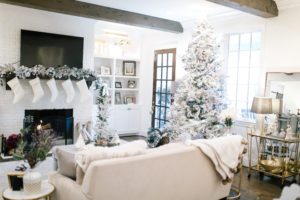
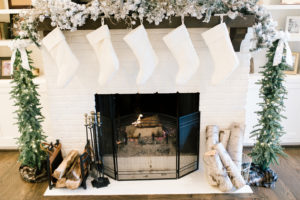
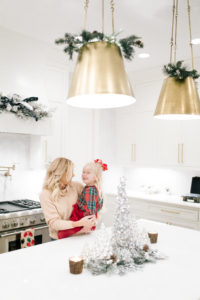
I hope you all had a lovely Christmas and are as ready to start the New Year as I am! Christmas is definitely my favorite holiday for many reasons; most importantly it’s the birth of our savior, but also because it really forces us to spend more time with our families and relive all of those traditions that impacted us so much growing up. I found myself this year getting so caught up in all of the nonsense surrounding Christmas, like the non-stop gift giving, purchasing things we don’t need, worrying about whether or not I was fair to each child in the amount of presents she received, did I remember each teacher, my parents, even my spouse…..trust me I forget this one often….yikes! I hate to say it, but I was ready for Christmas to be over before it even began. I know what you’re thinking, that’s crazy, it’s the season for giving! But, each year as I get older and I live further from home, I realize I’d rather just spend time with those that I love and don’t get to see often. Rather than worry about how quickly my pen can draw a line through each name on my Christmas list.
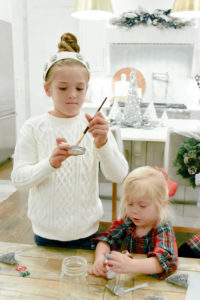
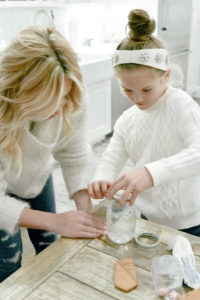
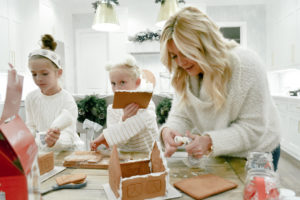
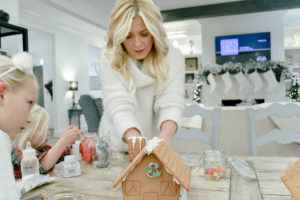
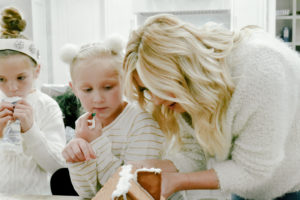
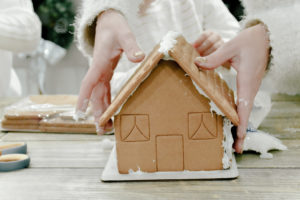
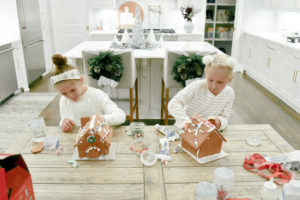
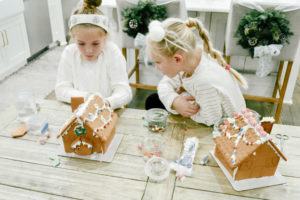
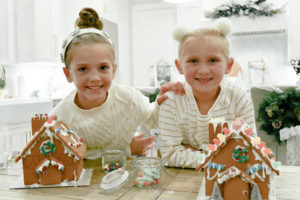
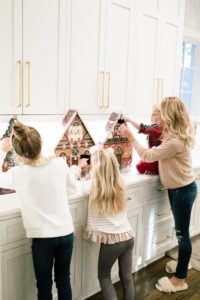
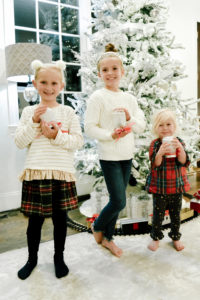
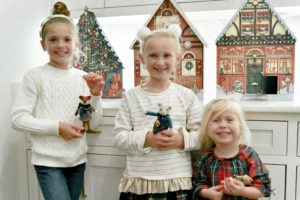
I read an article the other day that most of us can’t even recall what we got last year, I’ll be honest I had to think for a minute on what even I had received. So with my kiddos off school and at home with me for 3 long weeks, I decided to spend some time doing things they love like crafting and making good ol’ fashioned ginger bread houses. Pre-kids Leslie used to make them from scratch, sensible multitasking sane mom Leslie wouldn’t dare, so off to Target I went and grabbed a few boxed kits to make my life that much easier. After all the hardest part is making them, it shouldn’t be baking them (and that just rhymed ba-dump-bum!!) The kids didn’t care if they were boxed or fresh, they just wanted to be creative and most importably sneak pieces of candy!! We did get a little crafty this year and each of the kids built their own snow globe (Directions Below). You can get as creative as you would like with your DIY Christmas home decor and tailor each one to whatever your child or YOU are into. Next year we will do a new craft, put on some music, play our beloved Hallmark channel nonstop and just be silly and tell stories. The giant mess can get cleaned up later because the reality is, the kids won’t stay little for long. Every minute of the day I am reminded of how quickly time really does go by and each one of those minutes I want to be sure we keep the Christmas magic alive in our household. I’ll leave you with my favorite quote and oh how true it really is, “The days are long, but the years are short.” -Gretchen Rubin
CUTE DIY CHRISTMAS HOME DECOR:
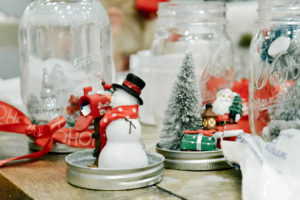
Snow Globe
What you’ll need:
- Mason Jar
- Small figurines like Santa, trees, reindeer (Michaels or Hobby Lobby)
- Epoxy
- White Glitter
- Water or Baby Oil
- White Paint, Paint brush
- Holiday Ribbon
- Optional: Patterned fabric or burlap
Directions:
- First paint the inside lid of your mason jar white as this is the base of your snow covered land, you can add a small piece of wood here if you’d like to make your figurines stand up a little taller in the jar.
- Let the paint dry and then use the epoxy to glue on each figurine (remember your jar will be upside down) I recommend letting the glue set and dry for at least an hour, we rushed this process and it did not stick once I added the water, so take your TIME here. *Also be sure the figurines will all fit inside the jar as the space is tighter than you might expect.
- Once the glue is dry fill the jar close to the top, but not all the way with water (you can also sub. baby oil here if you like). Sprinkle in as much white glitter as you like. I got two different kinds to showcase a variety of snow.
- Screw on the lid, (you can then cover it with a cute holiday fabric or burlap just cut a larger sized square about double than the lid).
- Finish by wrapping ribbon around the neck of the jar. Voilà you are snow globe ready!!
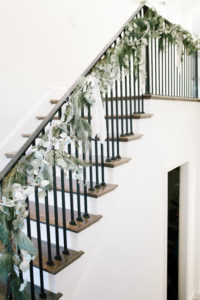
Homemade Bannister Garland
What you’ll need:
- Fresh garland ( I get mine at Trader Joe’s each year)
- Fresh Eucalyptus (Also get mine at TJ)
- Two different types of ribbon; I used linen and satin and picked one of the types of ribbon to be slightly smaller in width than the other. Mine were 1 1/2″ and the other 3/4″.
- Straight pins
- Floral wire
- Battery operated Christmas lights
Directions:
- I decided to double up my garland to make it a little thicker, for my entire banister I believe I used about 8 strands. Fasten them on to your banister using floral wire, just pre cut several strands so that you can tie them to the banister about every couple of feet, each one is usually 9 feet.
- Next mix in some eucalyptus, I rotated directions to make it look more full and natural. I just poked mine into the garland and they stayed pretty well.
- Measure out how many bows you want. I ended up using 4 spools (2 of each color/fabric) and had 6 sets of bows. I used the thicker linen ribbon for the backside of my bow and then the thinner satin one for the front bow. You cold stitch them together, but I just used a straight pin to fasten them to save some time. Tie them onto the garland with the floral wire looping through the knot of the bow.
- Lastly, I added some silver twinkling Christmas lights that I found from Michaels for 50% off. Make sure it has a battery pack so you don’t have any cords. Mine had 3 settings with a timer, which was great just incase I forgot to turn them off. I then used a bit of extra floral wire to keep everything all in place.
Even though the garland was all fresh, it lasted the entire 5 weeks before and after Christmas. It started to shed a bit towards the end and lost that fresh smell, but hey it still had great shape and a pretty evergreen color.

I hope you all had a very Merry Christmas and a Happy New Year! Cheers to 2019 and making it our best year yet friends!!!
– SHOP THESE ESSENTIALS TO MAKE YOUR DIY CHRISTMAS HOME DECOR –


